
Ugh!


I printed out the cover that I designed, all my printed pages and took it to Office Max for double sided printing and binding. The binding only cost $4! What a deal! I had to pay about $12 for the double sided printing that I did on my pages. If my school was open, I could have saved that money... but I wanted to get it finished.
(Psst! If you like the covers - they are for sale at my Teacher's Pay Teachers store!)

I used post it sticky labels to break up the sections for easy tabbing. I added the Notes section after some debating. I figure I always need some space to jot down ideas.


Calendar is courtesy of the fabulous Kindergarten Works! Because I am cheap - the copies came out a little light. I had to write over some of the areas so when I doubled sided copied, they would show up.
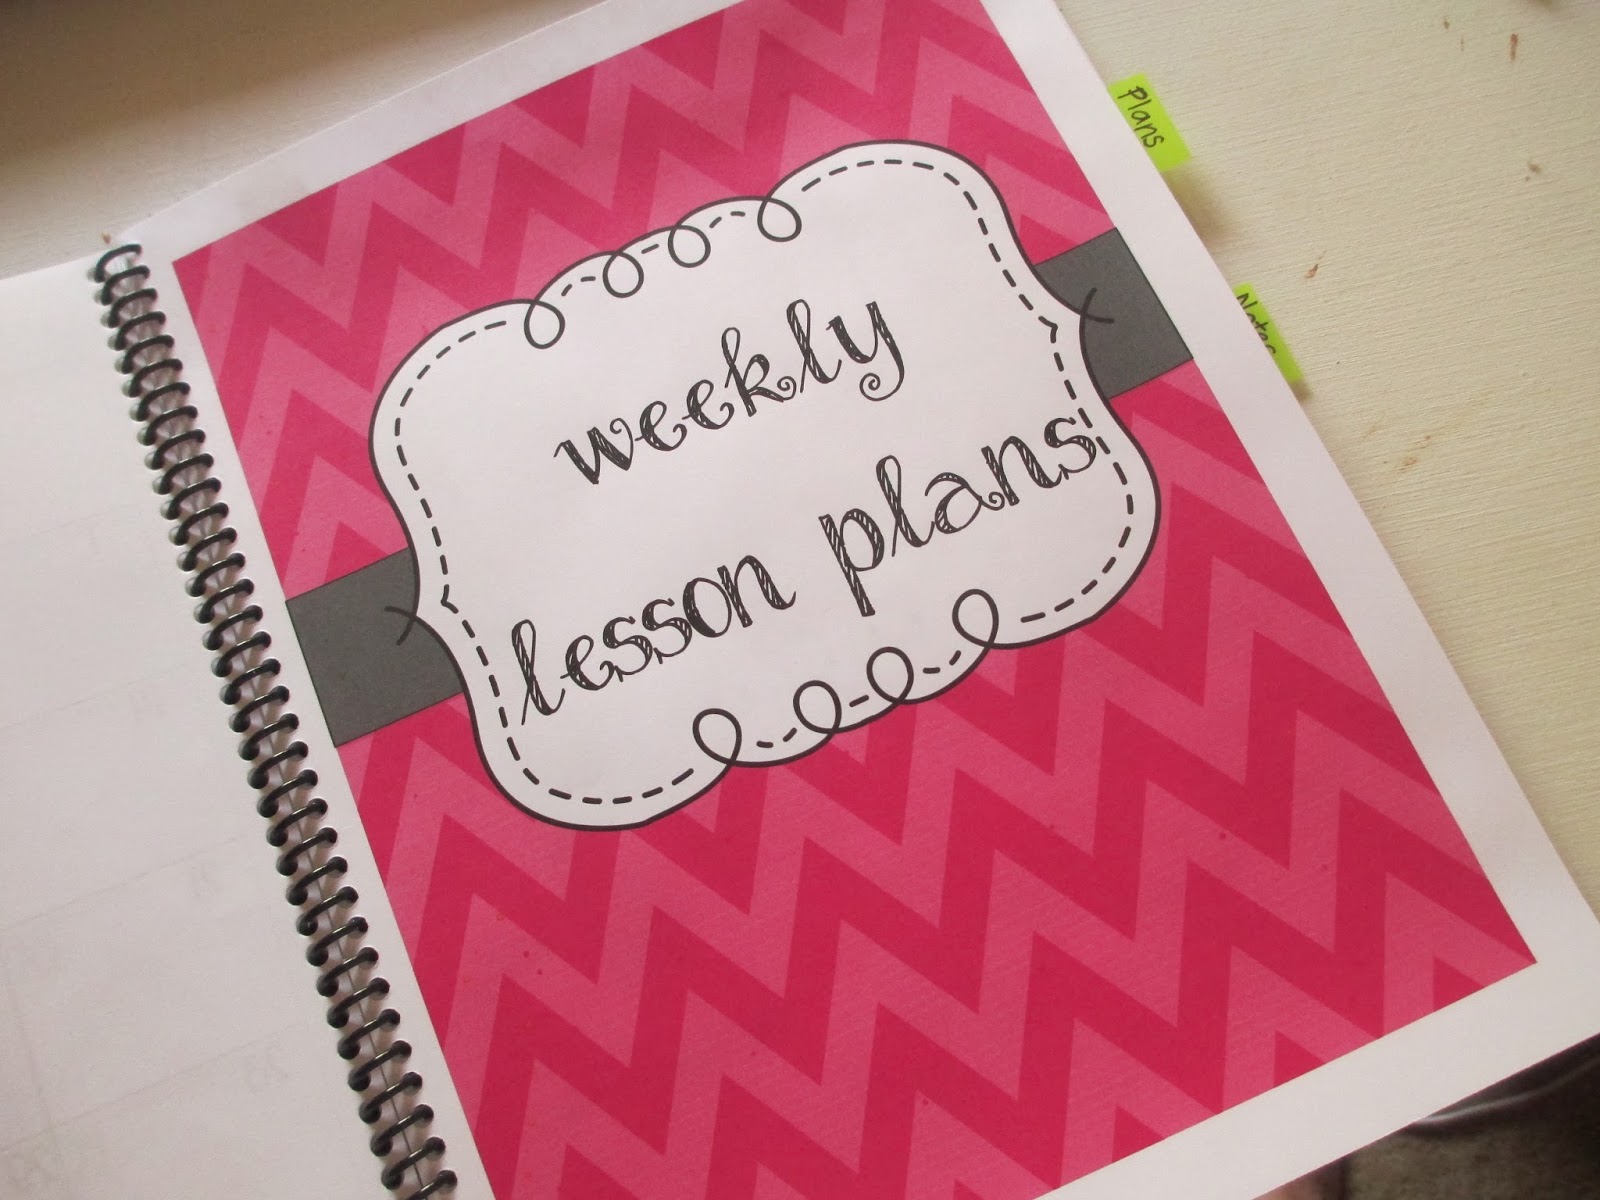
Our admins sometimes have difficulty finding the right sections, so I added in this helpful cover to my weekly plans. With the tab, there shouldn't be any problems locating my current plans.

This is how I created my weekly plans to match the specific requests of our district. They want that Checking for Understanding section and it helps that I added in all the strategies that they would like us to use.

This is what the weekly plans look like, a little closer. I have this weekly plan issue - the days HAVE to go across the page and the plans go down the page. I've rejected many a plan book that lists the days down the side instead of across the top.
Yeah, I have issues!
I had to squish my Social Studies section, but I think it will do. I forgot to mention earlier that they are available for $1.00 at my TPT Store. (It took me forever to get this plan right. The $1 might make me feel better for the angry hours I spent glaring at my computer screen ;) )

To keep my place, I added in a ribbon! I had this fun monkey pattern lying around, so I used it.

I used sticky dots to attach the ribbon to the inside back cover of my planner. I almost did it backwards the first time and had to think about how the ribbon would curl over the pages!

At Office Max, they add the clear cover and thick black cover in with your binding. I added about ten pages of blank copy paper to the end of my book as my Notes section.
Overall - I'm SO happy with my book. Last year, I printed the pages out on a weekly basis and then taped them into a blank planner. It wasn't the greatest idea because it was a pain in the butt every week to tape in my plan book pages. I think that this solution will work much better this year!


